 how-to
Troubleshooting Car Audio System Issues: 7 Steps
Table of Contents
- Troubleshooting Car Audio System Issues: Where to Start
- Step 1: Check Your Head Unit and Reset Procedures
- Step 2: Inspect Blown Fuses and Electrical Connections
- Step 3: When Your Car Radio Turns On But No Sound Comes Out
- Step 4: How to Test Car Speakers With a Multimeter
- Step 5: Troubleshooting Car Amplifier Power Issues
- Step 6: Address Ground Loop Noise and Interference
- Step 7: Anti-Theft Mode and Radio Code Problems
- Frequently Asked Questions
Last Updated: October 4, 2026
Troubleshooting Car Audio System Issues: Where to Start
Troubleshooting car audio system issues can feel overwhelming when your speakers go silent or your head unit stops responding. The good news: most problems have straightforward fixes that you can diagnose yourself before calling a professional. At South County Mobile Electronics, we help car owners pinpoint audio problems using simple diagnostic steps. This guide walks you through seven proven methods to identify and resolve the most common issues.
Safety First: What You Need to Know
Before you touch any wiring or electrical components, safety matters. Car electrical systems operate at 12 volts, which is low voltage, but improper handling can still damage your vehicle's electronics or create fire hazards.
Always disconnect the negative battery terminal before working on audio systems. This prevents accidental short circuits. Wait at least 15 minutes after disconnecting to allow capacitors in the head unit to discharge safely. Never force connections or bend terminals. If you see corrosion or burnt contacts, stop and call a professional, these signal serious electrical problems that require expert handling.
What You'll Need for Diagnosis
Gather these tools before starting:
- Multimeter (digital preferred)
- Wire strippers and crimpers
- Flashlight or headlamp for visibility
- Owner's manual for your vehicle
- Fuse diagram (usually in the fuse box or owner's manual)
- Needle-nose pliers
Having everything ready saves time and prevents frustration mid-diagnosis.
Step 1: Check Your Head Unit and Reset Procedures
The head unit is your car's main audio control center. When troubleshooting car audio system issues, this is the logical starting point because it controls everything downstream.
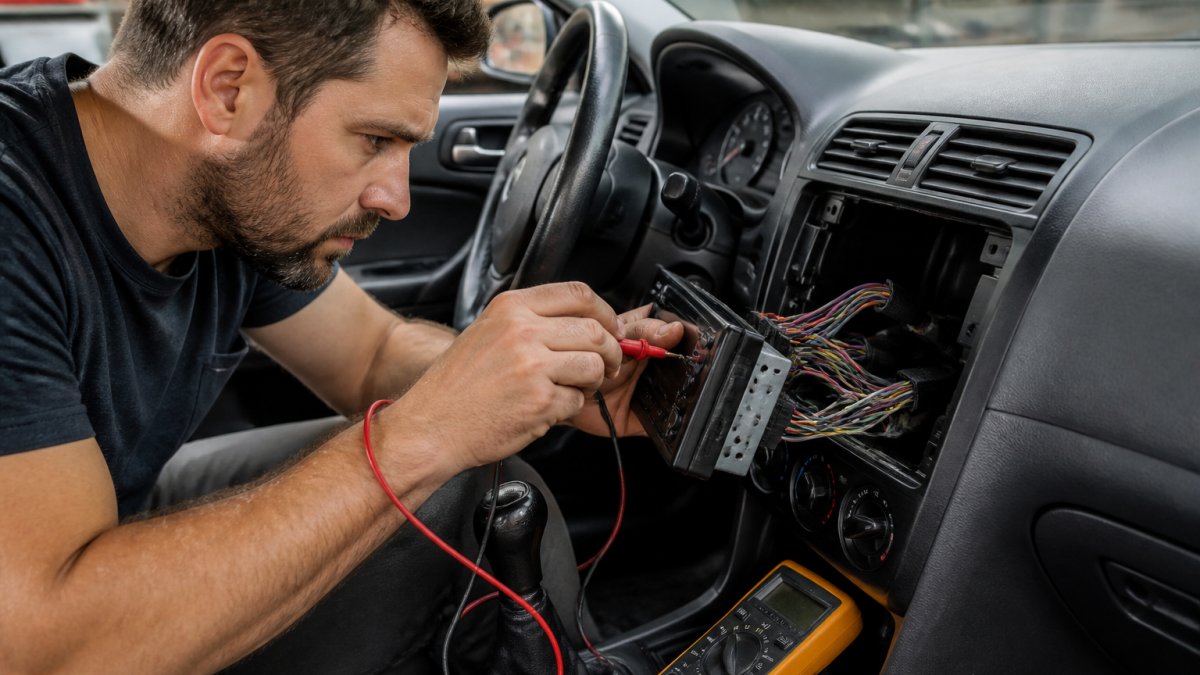
Start by checking if the head unit powers on at all. Look for any lights, displays, or indicator LEDs. If nothing appears, the unit likely isn't receiving power. Check the fuse first (covered in Step 2). If the fuse is good, the power wire may be loose or disconnected at the back of the unit.
If the head unit turns on but produces no sound, try a factory reset. Most units have a reset button (sometimes recessed) or a reset option in the settings menu. Hold the reset button for 10-15 seconds, or navigate to Settings > Factory Reset and confirm. This clears corrupted settings that block audio output.
If the display is cracked or unresponsive but you hear audio, the head unit is working, only the display is damaged. This doesn't affect sound quality.
Step 2: Inspect Blown Fuses and Electrical Connections
Blown fuses are the most common reason for audio failure. A single blown fuse cuts power to the entire system instantly.
Locate your vehicle's fuse box. Most cars have one under the dashboard (driver's side) and another under the hood. Check your owner's manual for the exact location and fuse diagram. Look for the fuse labeled "Radio," "Audio," or "ACC" (Accessory).
Remove the fuse and inspect it. A blown fuse has a broken wire inside the clear plastic housing, or the wire appears blackened. A good fuse shows an intact wire. If it's blown, replace it with an identical amperage fuse (usually 10-15 amps for audio systems).
After replacing the fuse, reconnect your negative battery terminal and test the system. If the fuse blows again immediately, you have a short circuit somewhere in the wiring.
Inspect all visible wiring connections at the back of the head unit and amplifier. Look for:
- Loose connectors (gently tug each one)
- Corroded contacts (green or white discoloration)
- Pinched or damaged wires
- Missing ground connections
Tighten any loose connectors by hand. If you find corrosion, disconnect the connector and clean both sides with a wire brush or fine sandpaper, then reconnect firmly.
Step 3: When Your Car Radio Turns On But No Sound Comes Out
This is one of the most frustrating scenarios. The head unit powers up and displays normally, but speakers output nothing. The issue is usually in the signal path, somewhere between the head unit and the speakers.
Start with the volume. Press the volume up button and watch the display. If the volume bar increases but you hear no sound, the signal isn't reaching the speakers. Check the head unit's audio output settings.
Next, check for a remote turn-on wire problem. Many aftermarket head units use a remote turn-on wire to activate an external amplifier. If this wire is loose, the amplifier won't power up, and you'll hear nothing. Locate the remote turn-on wire at the back of the head unit (usually blue or blue with a white stripe).
If you have factory speakers only (no amplifier), the issue is likely a loose speaker wire connection. Remove the head unit from the dash (usually requires a special removal tool, your manual shows how). Behind the head unit, locate the speaker wires. These are typically color-coded pairs.
Step 4: How to Test Car Speakers With a Multimeter
Testing car speakers with a multimeter tells you whether a speaker is working or blown. This is essential when troubleshooting car audio system issues in individual speakers.
Set your multimeter to the resistance setting (ohms, usually marked Ω). Disconnect the speaker wire from the speaker terminal. Touch one probe to the positive terminal and one to the negative terminal on the back of the speaker. A working speaker shows a resistance reading between 2 and 8 ohms (most car speakers are 4 ohms).
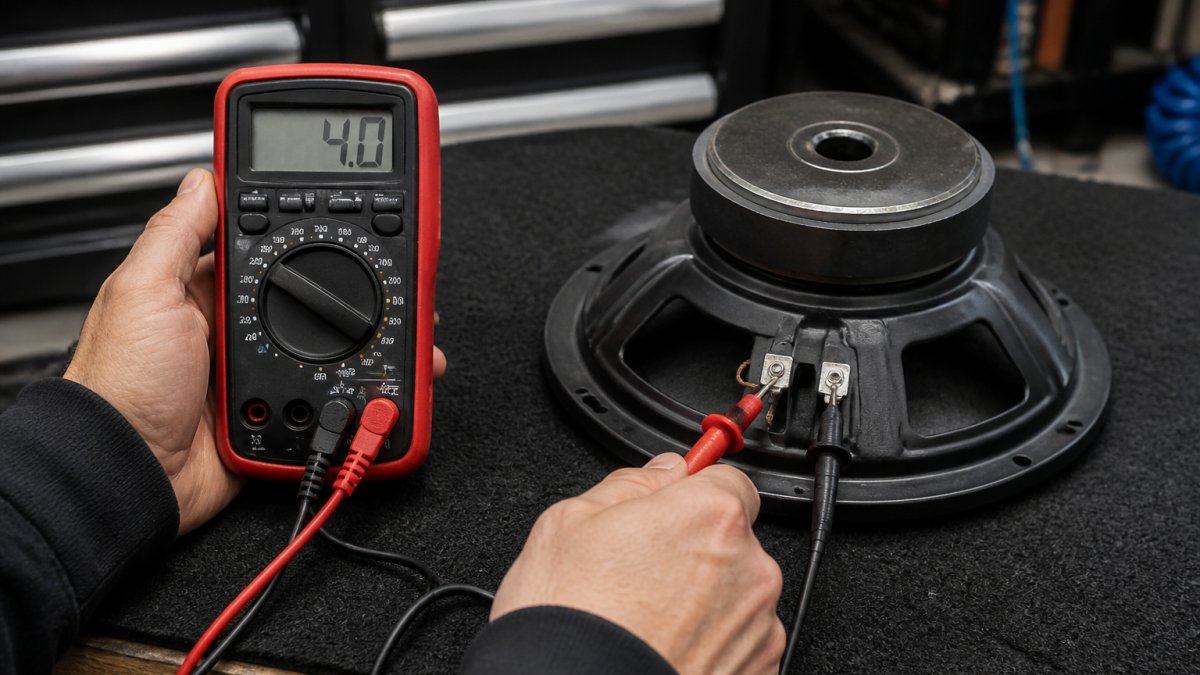
Test each speaker individually. If one speaker reads normal resistance but produces no sound, the problem is the speaker wire or connection, not the speaker itself. If a speaker reads zero ohms, it's blown and needs replacement.
A blown speaker often produces crackling, distortion, or a buzzing sound before it fails completely.
Step 5: Troubleshooting Car Amplifier Power Issues
An amplifier powers your speakers and handles the audio signal processing. If troubleshooting car amplifier power issues, start with the basics: power and ground.
Locate your amplifier. Most aftermarket amps are mounted in the trunk, under a seat, or behind the rear seats. Check that the power cable (usually red, thick gauge) is firmly connected at both the battery and the amplifier. If the connection is loose, tighten it.
Next, check the ground wire (usually black, same gauge as the power cable). The ground must connect to bare metal on the vehicle frame, not to painted surfaces or plastic.
If the amplifier still doesn't power on, check the inline fuse on the power cable near the battery. This fuse is separate from the main fuse box and protects the amplifier specifically. If it's blown, replace it with the same amperage.
Look for a blue remote turn-on wire connected to the amplifier. Trace this wire back to the head unit. If it's disconnected or loose, the amplifier won't receive the signal to turn on, and you'll hear no sound. Reconnect it firmly.
Step 6: Address Ground Loop Noise and Interference
Ground loop noise is a low-frequency humming or buzzing sound that appears when the audio system powers on. This happens when the amplifier and head unit have multiple ground paths, causing current to loop and create interference.
The fix is to ensure all ground connections use the same ground point. Locate the ground wire from your head unit (usually black, thin gauge) and the ground wire from your amplifier (usually black, thick gauge). Both should connect to the same bare metal point on the vehicle frame.
If humming persists after consolidating grounds, the issue may be RCA cable interference. RCA cables carry the audio signal from the head unit to the amplifier. If these cables run near power cables or engine harnesses, they pick up electrical noise. Route RCA cables away from power cables by at least 12 inches. Never bundle them together.
Another common cause: a faulty or missing ground on the remote turn-on wire. Some head units require a small ground wire on the remote line. Check your head unit's manual for the remote wire grounding requirement.
Step 7: Anti-Theft Mode and Radio Code Problems
Many factory head units have anti-theft protection that locks the radio after battery disconnection. The unit displays "Code" or "Enter Code" and won't produce sound until you enter the correct unlock code.
The code is specific to your vehicle and head unit. Check your owner's manual first, the code is often printed there. If you don't have the manual, contact your vehicle's manufacturer with proof of ownership (registration or title).
Enter the code using the head unit's controls. Most units use the preset buttons or volume knob to input numbers. Your manual shows the exact procedure. Once entered correctly, the unit unlocks and operates normally.
If you enter the code incorrectly multiple times, the unit may lock for 30 minutes to an hour as a security measure. Wait before trying again.
Some aftermarket head units also have anti-theft modes. If your aftermarket unit displays "Code" or "Locked," check the manual that came with it.
| Symptom | Likely Cause | First Check |
|---|---|---|
| Head unit won't power on | Blown fuse or loose power wire | Fuse box; power connector |
| Head unit on, no sound | Muted output or loose speaker wire | Volume settings; speaker connections |
| One speaker silent | Blown speaker or disconnected wire | Multimeter test; wire connections |
| Humming or buzzing sound | Ground loop interference | Ground wire consolidation |
| "Code" displayed | Anti-theft lock engaged | Owner's manual or manufacturer |
| Amplifier won't turn on | Loose power/ground or blown fuse | Power connections; inline fuse |
When troubleshooting car audio system issues becomes frustrating or you encounter corroded terminals, severed wires, or recurring blown fuses, professional help is the safest choice.
Frequently Asked Questions
Can a blown fuse cause car audio issues?
Yes, a blown fuse is one of the most common causes of complete audio failure. The fuse protects your audio system's electrical circuit. When it blows, power stops reaching your head unit, amplifier, or speakers. Check your vehicle's fuse box for a burnt or blackened fuse related to the audio system. Replacing it often restores sound immediately. However, if the new fuse blows again within days, you likely have a short circuit elsewhere in the wiring harness that needs professional diagnosis.
Why is my car radio turning on but producing no sound?
When your car radio turns on but no sound comes out, the issue usually lies in the signal path between the head unit and speakers, not the power supply. Common causes include disconnected RCA cables, a failed amplifier, speaker wiring issues, or the audio output being muted or set to zero volume. Test each component methodically: verify volume is not muted, check RCA cable connections at both the head unit and amplifier, and inspect speaker wiring for loose terminals. If you have an aftermarket amplifier, confirm it's receiving the remote turn-on signal from the head unit.
How do I know if my car speakers are blown?
Blown speakers produce distorted, crackling, or muffled sound even at low volumes. You may hear a buzzing or rattling noise from the speaker cone. To test definitively, use a multimeter set to continuity mode and touch the probes to the speaker terminals. A functioning speaker shows continuity (the meter beeps or displays zero ohms). No continuity indicates an open circuit and a blown speaker. Visually inspect the speaker cone for tears or damage. If multiple speakers fail simultaneously, the problem is likely upstream in your amplifier or head unit rather than the speakers themselves.
What should I do if troubleshooting doesn't restore my car audio?
If you've checked fuses, inspected wiring, tested speakers with a multimeter, and verified amplifier power without success, the issue likely involves complex digital integration, a failed head unit, or internal amplifier damage. Modern vehicles with factory integration or aftermarket systems with CAN-bus communication require specialized diagnostic equipment. Professional technicians have the tools to test signal paths, reprogram firmware, and diagnose DSP (Digital Signal Processor) issues. Contact a certified installer to avoid further damage to your vehicle's electrical system.